Worm Activity

A worm bin was created at Northeast Elementary this morning. This is what happened.

Let's Learn About Worms!!

We started with the worm bin made at Healthy Waltham. The students looked at this worms and held them learning more about how nice they are.

Then it was the time to make our own worm bin.  We started by ripping up old newspaper into thin strips to create bedding. Bedding is an important part of the worm bin because it provides a place for the worms to be when they are not eating the things put into the worm bin.

Then we dampened the strips in water so that they would be moist. It is important to have the bedding be somewhat moist, but not too wet.

The next step was to put a little it of soil to add to the bedding.  This gave the worms more places to live.

Then worms were put in. Each student picked up the worms from the old worm bin and put them into the new worm bin.  Then they put some food inside.  Soon the worm bin will grow and the worms will eat food.  In 35 Days there can be more worms that are alive and lving in there making compost from vegetables.

It is important that the things composted are mostly vegetables. it is not that the worms will not eat anything else. It is just that things like fruit will attract fruit flies and then you will have a fruit fly bin.

Here are some ways to deal with fruit flies who may start hanging out around your bin.  The thing you can do is to have a cover on it. Another thing to do is to avoid using sweet fruits and citrus, as this will attract fruit flies. Make sure you put the food under the bedding a little bit both so that the worms can access it and so that flies are not attracted to them. One fun thing to do if there are too many furit flies swriling around the bin is to take a vaccuum cleaner and vacuum in the air they are flying in.  This will suck up a lot of them in no time.

Scott Oglesby November 2011

Posted in Uncategorized | Leave a comment

Worm Party

Worms are now at Healthy Waltham.

We started a worm bin and it is filled with worms.  The bedding is filled with newspaper and the food they eat is all vegetable scraps.  The reason for vegetable scraps is because anything else will invite fruit flies, but not that worms eat many things!

Worms are really great. They are a bit smaller and redder than worms you would typically find in a garden, but these worms are red wigglers and they are the best worms for composting.

Posted in Uncategorized | Leave a comment

A Wonderful Start to Fall

Stanley Elementary’s garden club has been having a really wild time gardening and looking for nice food to eat.  So far this season we have harvested pumpkins, tomatoes, eggplants, cucumbers, mint, husk cherries, and oxalis. This week marked the time for tomatoes existing in the garden this season has ended. A new time of winter preparation was thought about as the old tomato stems were removed and the soil in the tomato beds were turned over. In order to make the garden a more level place, the Garden Club helpers dug up and leveled uneven areas of land. Then the kids went to the tomatoes and saw that they were beginning to be on their way out.At Chesterbrook Community Center it has been all about the tomatoes and raspberries.  There was a bed full of bright orange heirloom tomatoes were just ready to be eaten.  Elsewhere there were tomatoes and raspberry bushes that children collected and gave to each other.  Also the kids built a fence out of stakes fashioned out of branches and twine.  It was a really nice time that also involved a great deal of understanding. 

Posted in In the Garden, In the Schools, Special Events, Uncategorized | Leave a comment

Digging in @ Chesterbrook

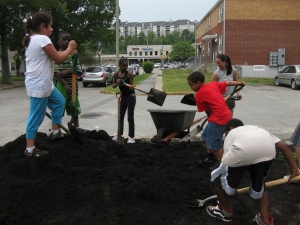
Last Thursday marked the beginning of a new vegetable garden at Chesterbrook Housing Community in Waltham. With six cubic yards of compost dumped, the kids and HW staff got digging as we shuttled wheelbarrows of the rich, black soil over to the garden’s new location. From an eyeball-estimate, it seemed that the kids were able to move over a third of the huge pile in under two hours in high heat and humidity!

It was quite a sight to see such great teamwork in motion. The only thing that seemed to stop the kids was the storm clouds that came rolling in towards the end of our session! Later this week, we will continue to transport compost in addition to transplanting two apple trees.

Rebekah

Images by Rebekah Carter (2011).

Posted in In the Garden | Tagged , , , , | Leave a comment

Steamed Edamame

At the end of April, I gave the Chill Zone kids a behind-the-scenes tour of Moody Street’s  Tempo Bistro, the restaurant I’ve worked at for nearly five years. We hit all the major spots of interest, including the dining room floor, prep kitchen, walk-in refrigerators, and main kitchen. Since we were there during the early afternoon (before the restaurant opened for the night), the kids even got a chance to chat with the executive and sous (pronounced “sue;” French for “under”) chefs!

As the cornerstone of our work with the Chill Zone, I still wanted to include a healthy snack for the kids to eat during our tour. Luckily, Tempo serves steamed edamame (green soy bean pods) as an appetizer. None of the kids had ever had the dish before, so we turned our healthy snack into a taste test; it got 100% positive feedback. The best part? It is so easy and simple to make at home! Look for it in the freezer section of your local grocery store’s natural foods section. Even better, we’ll be planting loads of edamame @ McDevitt Middle School this week to enjoy in September.

Steamed Edamame

2-3 servings

1. Fill a medium-large pot with 6-8 cups of water; bring to a boil.

2. Carefully add one package (typically 14oz) of frozen edamame pods into the pot; cook for 4-5 minutes.

3. Carefully drain the edamame in a colander and lightly sprinkle with salt while hot.

Enjoy!

Rebekah

Image by Rebekah Carter (2011).

Posted in @ the Chill Zone, In the Kitchen, In the Schools, Special Events | Tagged , , , , | Leave a comment

What have we been up to this spring?

The past several weeks have been a very busy time for Healthy Waltham. With the weather continuing to warm up and seeds and seedlings (started indoors in February, March, and April) needing planting and care, we’ve been doing a lot more than usual, but were snapping photos along the way. Here is a medley of pictures capturing some of our more recent activities and garden growth from this past spring.

To enlarge these images for a better look, simply click on the photo of interest.

APRIL

April blooms

Early risers: radishes and sugar snap peas

Perennial chocolate mint

Perennials lemon balm & freshly-transplanted rhubarb

MAY

Radishes bulging out of the soil

Gathering sticks and making the pea trellis @ Stanley

The finished product!

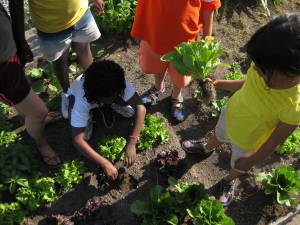
Marking and digging holes for lettuce transplants from Waltham Fields Community Farm

Getting those greens in!

Tendrils feeling their way up towards the trellis and sun

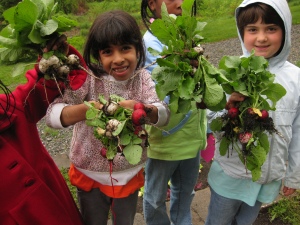
First radish harvest @ Stanley!

We ate all of the fresh & raw radish roots and most of the tops (great in salads)

Rebekah and volunteer Lara @ the inaugural Moody Street 5K Road Race

Waltham Fields farmers Amanda and Dan finish their run!

A day for discovering garden bugs and animals (a baby vole)

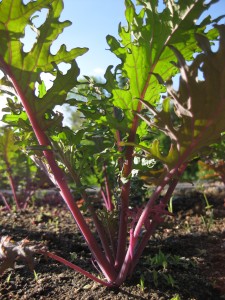
Late May growth: yellow irises and kale in the morning sun @ Stanley

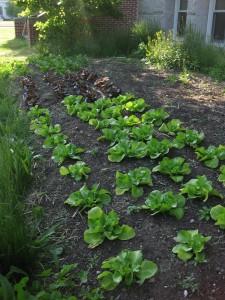
Our lunch lettuce crop from Waltham Fields and snap pea blossoms @ McDevitt

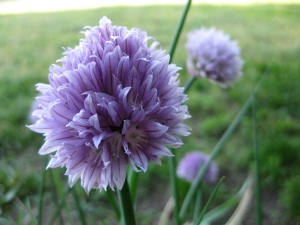
Chive blossom

Lettuces, cabbages (before they bolted), kale, broccoli, and kohlrabi

JUNE

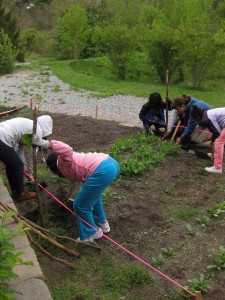
Weeding and cultivating soil around snap peas for pumpkin seed planting @ Northeast

Cultivating for sunflower planting and watering newly-planted pumpkin seeds

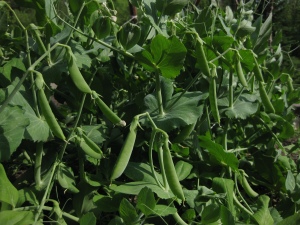
At last: sugar snap peas planted way-back-when in March are ready for picking @ Stanley

Transplanting tomatoes, peppers, and eggplant; young summer squash seedlings

Inoculating and planting pole beans near the husk cherries

Pulling up romaine, red leaf, and green curly-leaf lettuces and picking cabbage flowers

At this week’s Stanley Garden Club and Waltham Boys & Girls Club session, we made a tasty lemon vinaigrette to dip our freshly-harvested and washed lettuces in. We put lemon juice, olive oil, shallot (you could also use onion or garlic), salt, and freshly-ground pepper in a bowl and gently whisked it until all ingredients were well combined. It was a simple and healthy snack that was enjoyed by all on two hot and humid afternoons!

Be sure to check in for weekly updates all summer long, as our garden work will continue at the school, Boys and Girls Club, and public housing gardens throughout these hot months (the best time to grow food in New England) and into the fall.

If you and your family are interested in helping us maintain our school gardens at Stanley Elementary, Northeast Elementary, or McDevitt Middle School, please contact me via:

rebekah@healthy-waltham.org

No experience necessary as training will be provided.

Rebekah

Images by Rebekah Carter (2011).

Posted in Adaptable Activities, In the Garden, In the Kitchen, In the Schools, Special Events | Tagged , , , , , , , , , , , , | Leave a comment

Apple and Fennel Salad @ the Chill Zone

A few Saturdays ago we tested out one of Chef Glynn’s recipes at the Chill Zone, and much to our delight, this Apple and Fennel Salad turned out deliciously. For many of us, a salad is the first thing we think of when we think about eating healthy, and especially when we talk about eating vegetables. And while we most often think of lettuce and dressing as a salad’s main features, this dish can be so much more! Have you ever had a fruit salad? What about a tomato-cucumber salad? Salads can have any combination of fruits and vegetables, and can be topped with just about anything, including cheese, beans, nuts, seeds, and eggs! The possibilities are endless.

The salad that we prepared at the Chill Zone is a great mix of the traditional with some exciting additions. Perhaps the most exotic and interesting salad ingredient was the fennel bulb. The girls who helped prepare the salad all took turns smelling a few crushed leaves from the fennel, trying to pinpoint why it smelled so familiar. The fennel smelled, strangely enough, like licorice! Although fennel and licorice plants are not technically related, they do share a very similar smell because both plants share an aromatic compound called anethole that gives them their distinctive flavor. The fennel definitely gave the salad a nice crunch and an interesting taste.

After marveling over the fennel, we got down to work, washing and chopping up garlic, apples and grapes. We squeezed fresh lemons and carefully picked parsley leaves to make the vinaigrette dressing. A basic vinaigrette salad dressing is made of 3 parts oil and 1 part vinegar, but there are infinite variations with different herbs and spices. Experiment with making your own vinaigrette dressings at home! After finishing up the dressing and fruit prep, we combined everything with some fresh romaine lettuce and a sprinkle of goat cheese. What a sweet way to welcome in the spring!

Below is the recipe we used; we adapted Chef Glynn’s original recipe slightly to make it vegetarian (excluding the meat). Any recipe can be adapted if you don’t especially like one of the ingredients or would prefer something else; experimenting is a vital step in becoming a great chef! It may not always turn out quite the same way as the original, but practice makes perfect. Before long, you’ll be making up your own delectable recipes.

Apple and Fennel Salad

Vinaigrette

  • 2 cloves garlic, minced
  • 2/3 cup vegetable broth
  • 1/4 cup parsley, freshly chopped
  • 2 tbsp lemon juice
  • 2 tbsp apple cider vinegar
  • 1 tbsp olive oil
  • 1/2 tsp black pepper

Salad

  • 3 apples, diced
  • 1 bulb of fennel, thinly sliced
  • 1 1/2 cups grapes, halved
  • 6 cups romaine lettuce
  • 1/3 cup goat cheese, crumbled

Directions:

1. To prepare the vinaigrette, mince garlic, then add vegetable broth, parsley, lemon juice, cider vinegar, olive oil, and black pepper. Stir until well blended and set aside.

2. To prepare the salad, combine washed romaine and place it on a serving platter.  In a large separate bowl, combine apples, fennel, and grapes.  Pour about 1/2 of the vinaigrette over the apple mixture and toss gently to coat.  Spoon apple mixture over lettuce.  Sprinkle with goat cheese. Spoon remaining vinaigrette over salad and serve immediately.

Cece

Recipe from Healthy Waltham’s own Chef Glynn’s Salads for Kids website. Images by Cece Watkins (2011).

Posted in @ the Chill Zone, In the Kitchen | Tagged , , , , , , , | Leave a comment

Carrots ‘n Swiss Chard @ Stanley Garden Club

After realizing the difficulty of freehand-seeding carrots in the garden, Cece and I decided that there had to be an easier way to plant carrots in nice, evenly-spaced rows. If you’re not familiar with these seeds, they are about the same size of a sesame seed, maybe even a little thinner in shape, and the same color as soil, making it really hard to keep track of where you plant them. A few weeks back, I came across these nifty directions for making seed tape with materials found in just about any home. Lucky for us, we were able to find these same supplies right at school.

To make the seed tape, we used:

  • rulers
  • pencils
  • toilet paper
  • flour
  • water
  • carrot seeds (we planted carrots of the Nantes variety)

Using rulers and pencils, the kids measured and marked each inch on four long strips of toilet paper, indicating where each seed would be placed. But first, we had to apply a small dollop of a sticky paste made from flour and water so that the seeds would stay put.

While letting our seed tape dry up a bit, we headed outside to cultivate yet another one of the garden beds. This particular bed had a lot of old plant life to clear out, including some overwintered red lettuce that the kids were more than happy to bag and take home to eat! The shallow-rooted lettuce plants were easy to pull out, but the old Brussels sprout stalks were another story! The kids had to work together, using all of their strength to get those guys out of the bed and into the compost bin.

After loosening up several inches of soil using our trowels and cultivators, we evened out the bed and planted some Swiss Chard seeds. These leafy greens are related to spinach and beets. We planted the Bright Lights variety, which have bright pink, purple, red, orange, and yellow stalks that are tender enough to be eaten right along with the leaves. Though we are growing this crop for food, we also consider them ornamental plants (for decoration) since they add so much beautiful color to the garden.

Next, we carefully gathered our carrot seed tape and planted each strip, one by one, into the garden bed. By the end of the school year, we should be harvesting these carrots and making room for some new plant life.

Rebekah

Seed tape directions provided by One Green Tomato. Images by Rebekah Carter (2011).

Posted in Adaptable Activities, In the Garden, In the Schools | Tagged , , , , | Leave a comment

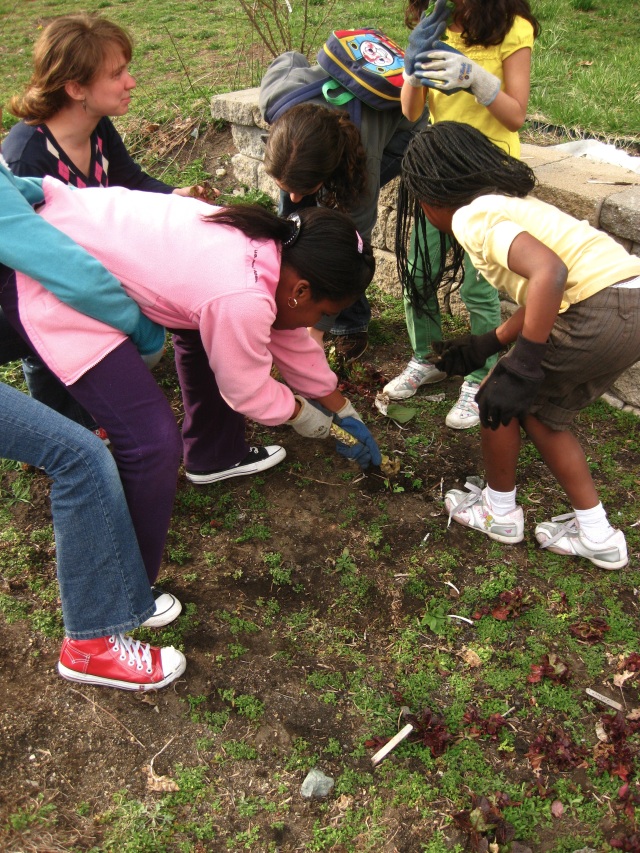
Planting Peas @ Northeast Elementary

Last Thursday at Northeast Elementary, Healthy Waltham invited the entire first-grade class to help us plant hundreds of snap peas in the school’s expanding garden space.

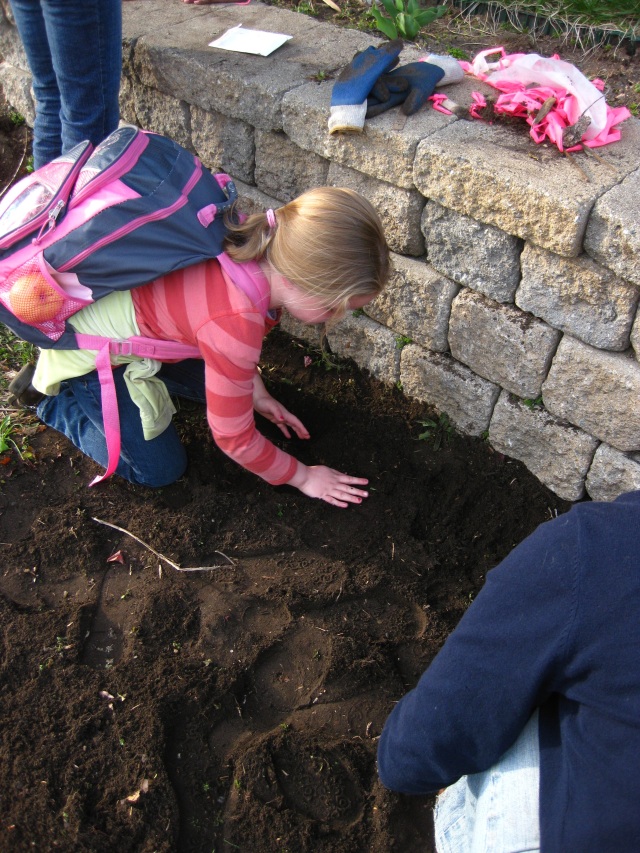
We were first assisted by Ms. Lockwood’s forth and fifth-grade class in preparing one of the garden beds for the planting. Kids dug in with trowels and hand cultivators, loosening up clods of compacted (pressed together) soil so that our future pea plants’ roots can more easily reach further and further into the ground. These deep roots will not only help the plants find important nutrients and water in the bed, but will also help them to grow up nice and tall while better stabilizing (to make secure) the pea shoots so that they will not blow over (or worse, blow away!) in windy conditions.

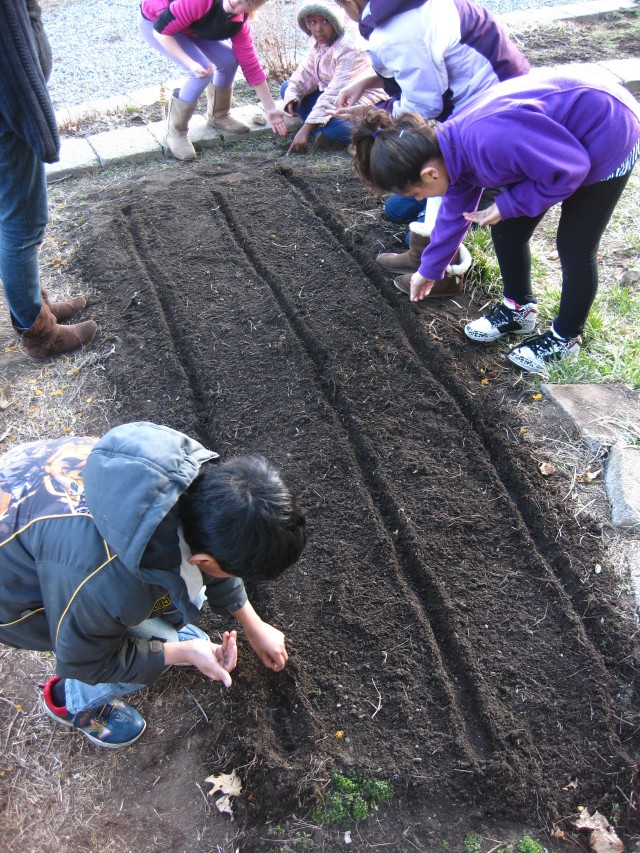
Once the soil had been loosened, our first-grade assistants began to make their way into the courtyard for the planting. But first, as with all of the peas we’ve planted around town, we had to inoculate our peas with that powdery bacteria called rhizobium (see this post to learn more about inoculation and rhizobium) that will help put nitrogen in the ground, helping both the peas and the other seeds we plant there this summer. After inoculating the peas, we dug furrows (shallow trenches in which to plant seeds; also called drills) and began planting our seeds, one-by-one.

As each student took their turn planting, those waiting around the bed turned their attention to the bug life in the freshly-cultivated soil. What exactly did they find? Loads of brown spiders, roly-polies, and nightcrawlers, mostly. We had a brave bunch of students, most of whom were eager to get a hold of these tiny creatures for a closer look at their shapes and movement. And though some weren’t very excited to be so close to the spiders, the children made a good point as to why we should appreciate them: they spin their webs so they can catch insects to eat, including mosquitoes. If it weren’t for these eight-legged creatures roaming our city and state, we’d probably have a lot more mosquitoes, and thus a lot more itchy mosquito bites during the hot and humid months of summer.

In addition to planting peas directly into the ground, we also made room for two long rows of peas in the courtyard’s raised bed. Since the bed was full of overwintered strawberry plants, we had to first move all the straw that students had put on them in the fall over to the compost bin, uproot several of the plants, and move them over to another part of the garden space where we already have established raspberry canes. But why did we put straw on these plants anyways? We discussed with the kids that the strawberries are perennials, meaning they live for more than two years; the straw acts like a blanket or coat, protecting them from New England’s harsh winters that bring snow, sleet, wind, and frequent freezing temperatures. Seeing the straw on the berries also explained how this plant got its common name; farmers must have been using this technique to protect their crop for a long time or they’d be called something else. Though the fruits won’t likely be ready for picking until early July, we’ll keep our fingers crossed for a late-June harvest- a nice end of the school year treat!

Having explained to the students that we had to transplant some of the strawberry plants to the newly-designated berry patch, we got to discussing what exactly the word means and other words with a similar meaning. The kids quickly realized that the word “transplant” sounds a lot like “transport,” which means to move from one place to another, whether by foot, car, boat, train, or airplane. Thus a nice language connection was made: the prefix “trans” generally has to do with moving an object or person away from its original location.

Finally, we wrapped things up by asking the children why they think we need plants. With so many other foods like meat and dairy products, who needs plants? Kids responded by reminding us that plants are extra nutritious, full of the vitamins and minerals humans need to be healthy and live long lives. They also brought up the fact that the animals that supply us with meats and dairy foods are very often vegetarian, meaning they only eat plants, so we couldn’t have these foods if not for plants! This open discussion made us even more aware of how everything on our planet is interconnected, meaning every organic (living or once living) and inorganic (non-living) thing has an effect or impact on its surroundings.

As summer approaches, the students at Northeast can expect even more Healthy Waltham garden activities to come, including the harvesting of the peas, strawberries, and raspberries, as well as planting summer crops like beans, sunflowers, pumpkins, and tomatoes.

Rebekah

Images by Rebekah Carter (2011).

Posted in Adaptable Activities, Healthy Living, In the Garden, In the Schools | Tagged , , , , , , , , , , , , | Leave a comment

Lettuce, Tomatoes, and Worms @ Stanley Garden Club

Last week at Stanley Garden Club students exercised their patience as we checked for signs of new growth in our planted beds. After not discovering any green sprouts sticking out of the soil, we talked about why the seeds might be taking a little longer to germinate than expected. Students raised their hands to suggest that maybe the cold weather and lack of much sunlight might be slowing down the young plants’ growth.

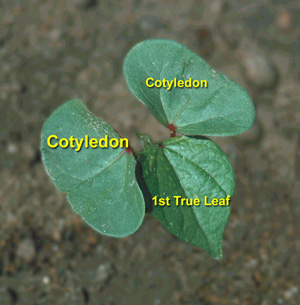
Cotelydons vs. true leaves

These are really great ideas, because it is true that young seedlings need both warmth and sunlight to grow bigger. However, the seeds really only require warmth and water in order to germinate (to become sprouts); they only begin to need sunlight when they have true leaves that photosynthesize carbon dioxide into sugar (plant food) using the sun’s energy. Their very-first set of leaves, called cotyledons, don’t conduct photosynthesis, as the leaves themselves provide all the food and nutrition needed during the plant’s infancy (the beginning or early period of existence). We decided that the biggest factor in slowing down our radishes, carrots, and peas was probably the cold temperatures we’ve been experiencing, which, as the kids suggested, is in part due to the spring’s limited hours of strong sunlight. Never the less, we planted another bed with more radishes since these spring days will become longer and warmer as we approach summer.

After checking on the outdoor beds, students helped us plant a variety of lettuce seeds indoors. Each student got to plant their own six-pack of leafy greens- and no, we don’t mean the kind of six pack found on a gym buff! These six-packs were seedling trays with six cells each, and after carefully counting out twelve seeds, each Garden Club student planted two seeds in each cell. Crop varieties (the particular types of vegetables or fruits grown) included arugula, rouge d’hiver (pronounced “rooj-dee-vair”), bronze arrowhead, and red sails lettuces. Lucky for us, some students even stayed late to help label our new trays.

Unripe husk cherries @ Waltham Fields Community Farm (2010)

This past Tuesday, we continued the indoor planting with husk cherries and sun gold cherry tomatoes. We reviewed what we knew about husk cherries (also called ground cherries and relatives of tomatoes) and looked at pictures of the wrinkly, lantern-shaped outer shell called the husk, and the smooth, golden ripe cherry. Just one look at the pictures and the students began reminiscing about the husk cherries they had harvested last year, recalling the sweet and tangy, almost pineapple-y taste.

After seeding our trays, we had a special surprise for the kids. They raised eyebrows and couldn’t resist guessing as Rebekah handed out magnifying glasses and petri dishes. What was in that surprise bin she had brought? Compost? Special snacks? Why are the petri dishes wet? Eventually one student guessed correctly: worms! The worm bin, which students at McDevitt had started just two months ago, is now a thriving ecosystem (a habitat filled with different interacting organisms).

The Stanley kids dug their hands fearlessly- well, we did have a few squeals!- into the bin, exploring the ecosystem created by our vermicomposting activity. They discovered all sorts of things: roly-poly bugs, spiders, decomposing plants, slugs, flies, castings, worm eggs, and of course, the red wigglers themselves!

Click to see a close-up of this decomposing leaf's vein structure; you can even see worm eggs on it!

Students held the worms and studied them in dishes with their magnifying glasses, being careful to keep them moist. We watched as the worms crowd together into a big ball, which lead to a discussion about worms and light. Why are they behaving this way? To avoid the bright light, student discovered; they associate the cafeteria’s fluorescent lights with the sun, which can dry them out, which means they can’t breathe since oxygen can only dissolve through their skin if it’s moist. We also observed the other life we found in the worm bin, such as the roly-polies (also known as pill bugs). These guys were especially fun to watch as they curl up in tight balls when they feel threatened. Their scientific name is actually Armadillidiidae, because they share this habit with the much larger armadillo!

Once the worms, slugs, and roly-polies were all cleaned up and put safely back in their ecosystem, we had a little extra time to quickly check up on our outdoor beds. We were nervous because of the continued cold weather, but at last we saw signs of radish and snap pea germination! A little patience really pays off in the garden.

Cece and Rebekah

Image of cotyledons and true leaves from veggiegardener.com. All other images by Rebekah Carter (2011).

Posted in Adaptable Activities, In the Garden, In the Schools | Leave a comment